But if that day has come and you are ready to start deleting the unwanted programs on your computer, then thankfully it’s a relatively short process. Our tutorial below will show you how to find and uninstall a program in Windows 10 if you have decided that you don’t need it anymore.
Deleting an App or Program in Windows 10
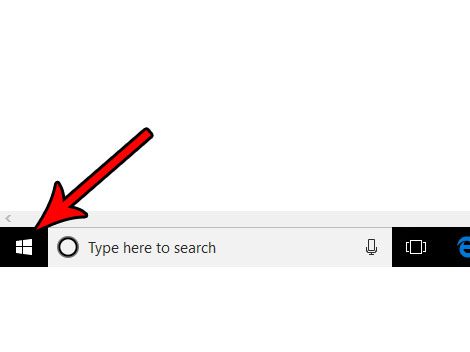
The steps in this guide were performed in Windows 10. Completing the steps in this guide will result in the specified program being uninstalled from your computer. This means that the program will no longer function correctly, and any interaction that previously existed between that program and another one will cease to work. Additionally, depending on the program you are uninstalling, you may need to restart your computer after you are finished to complete the process. Step 1: Click the Start button at the bottom-left corner of the screen. You can also press the Windows key on your keyboard to open this location.
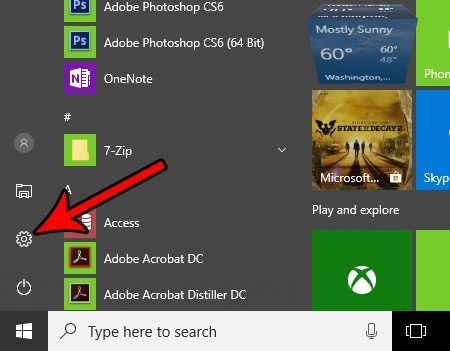
Step 2: Click the gear icon in the left column of this menu.
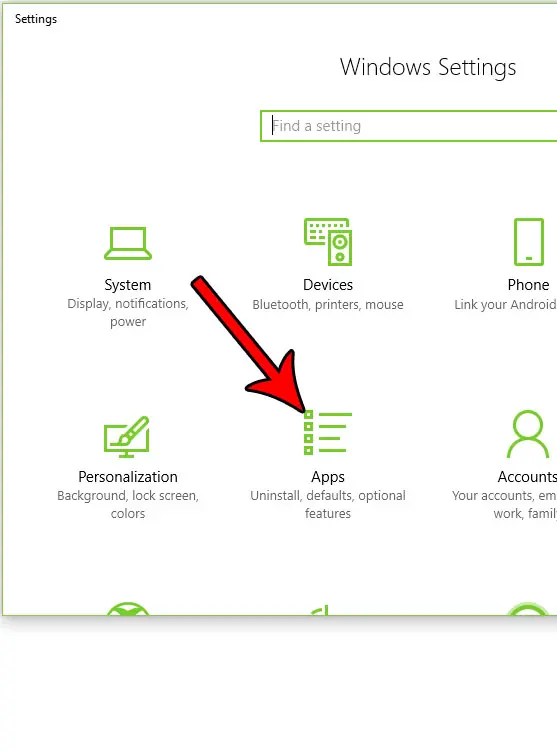
Step 3: Select the Apps option.
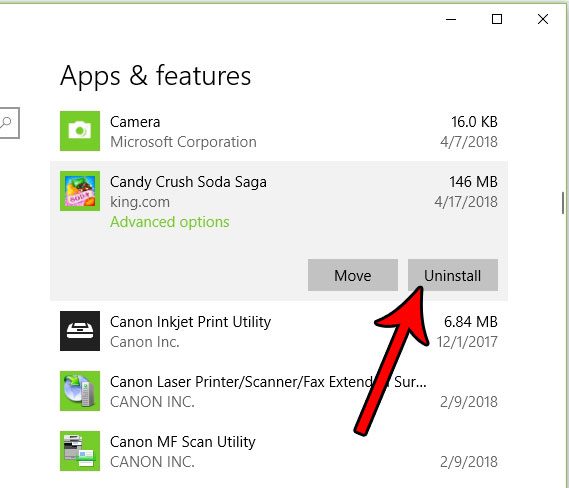
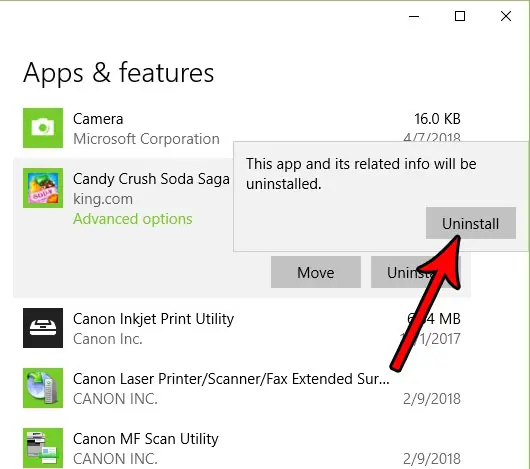
Step 4: Scroll through the list to find the program you want to uninstall, click it once to select it, then choose the Uninstall option.
Step 5: Click the Uninstall button again to confirm that you wish to uninstall the program from your computer.
Would you like to include more information for the files that you look at in Windows Explorer? Find out how to add another column in Windows 10 file explorer and give yourself some additional data on your files. After receiving his Bachelor’s and Master’s degrees in Computer Science he spent several years working in IT management for small businesses. However, he now works full time writing content online and creating websites. His main writing topics include iPhones, Microsoft Office, Google Apps, Android, and Photoshop, but he has also written about many other tech topics as well. Read his full bio here.
You may opt out at any time. Read our Privacy Policy
