Find Your IP Address on Windows 11 Through Settings
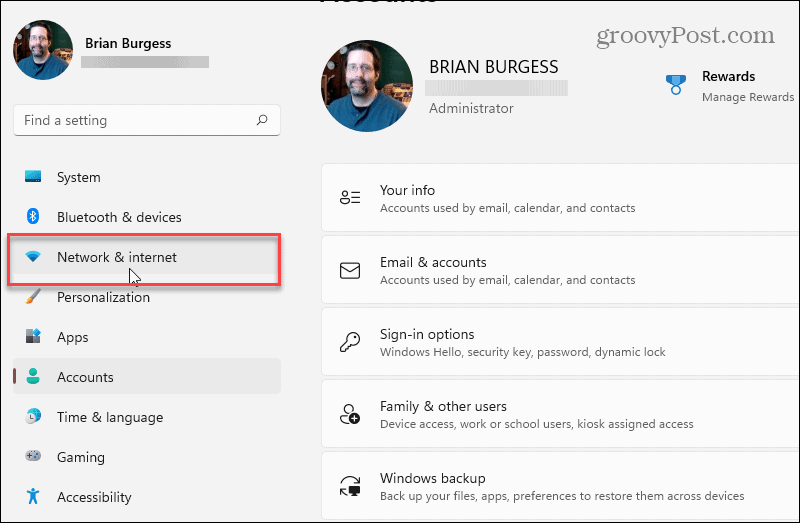
To get started, open the Settings menu by going to Start > Settings. Or you can also use the keyboard shortcut Windows key + I to open the Settings page directly. Either way, when you do it, once the Settings app opens, click on Network & internet from the list on the left.
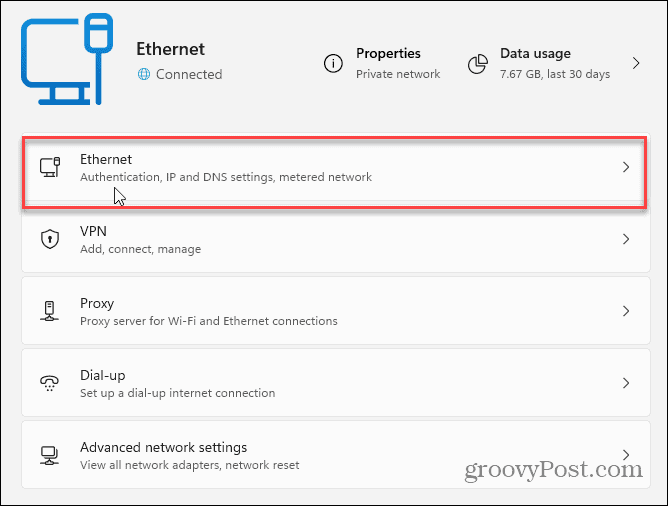
On the following screen, you can click on the connection you’re using – Ethernet or Wi-Fi. Here I am selecting Ethernet because this device doesn’t have Wi-Fi. But you can select whichever one you want to find the IP address for.
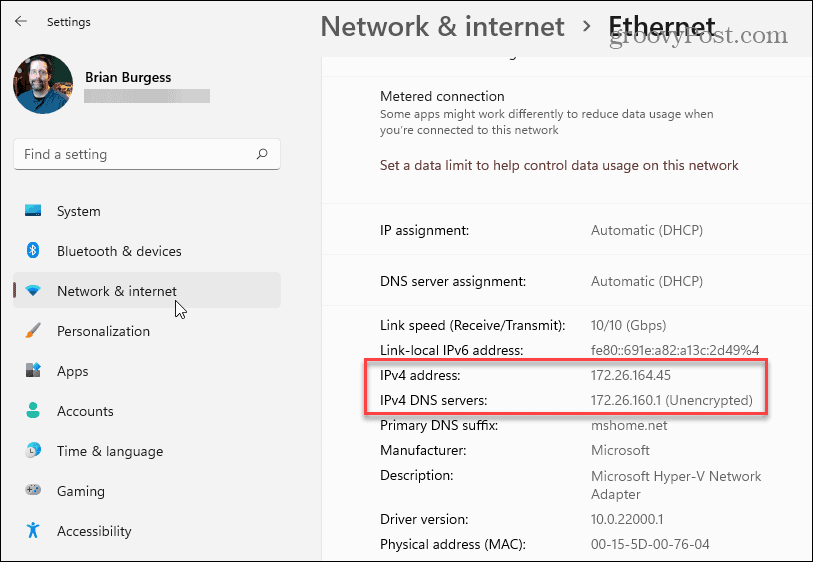
Then scroll down a bit and on the right-hand side, you will find the IPV4 IP address of your connection listed.
Find Your IP Address with Command Prompt
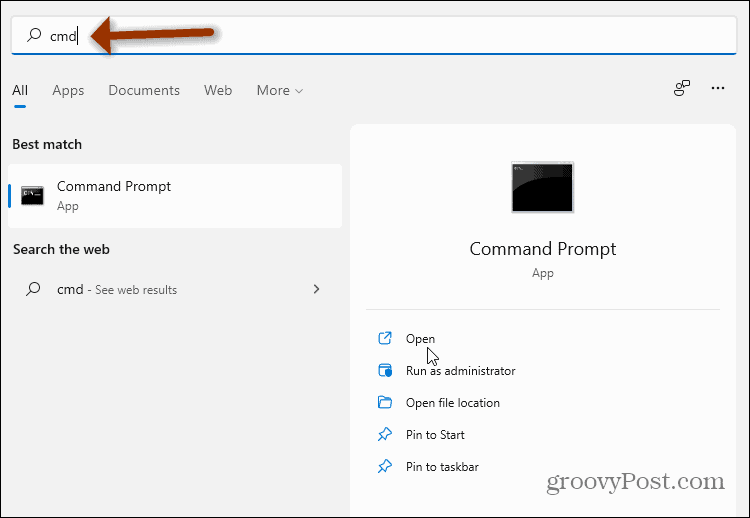
Using the Command Prompt to find your IP address on Windows hasn’t changed much over the years. Hit the Windows key and type: cmd and open it.
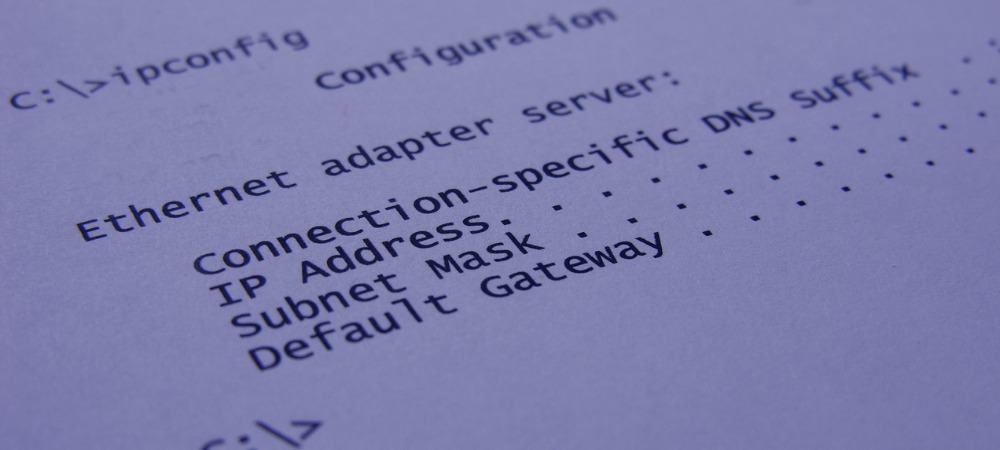
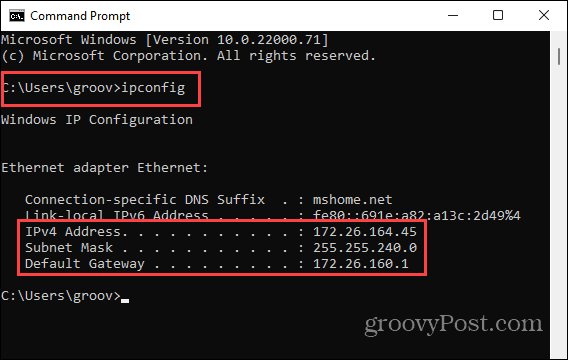
Then at the first prompt type: ipconfig and hit Enter on the keyboard. That will bring up your IP address – it will also bring up your Wi-Fi if you have it connected too.
Find Your IP Address with PowerShell
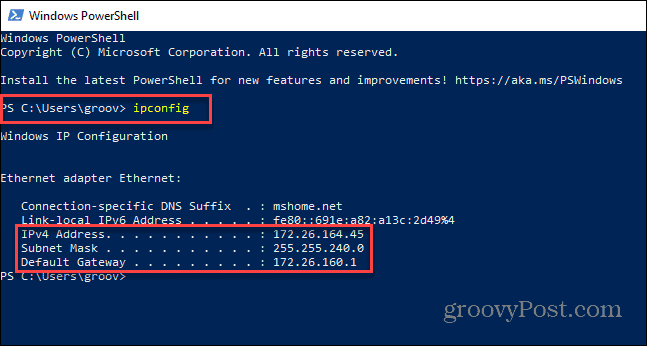
If you want to you can also use the PowerShell utility that’s built into Windows. Hit the Windows key and type: powershell then open the app. When it comes up type: ipconfig at the first prompt and hit Enter on your keyboard. Just like the Command Prompt, it will list your IP address.
That’s all there is to it. Finding the IP address of your PC isn’t too difficult if you know where to look and what to do. And for more on Windows 11 check out our articles like how to move the Start button. Or how to rename your Windows 11 PC for easier network management. Comment Name * Email *
Δ Save my name and email and send me emails as new comments are made to this post.
![]()
